Klaviyo Integration Guide

Connecting marketing platforms without data loss decides campaign accuracy before the first email is sent. Klaviyo integration solves this issue by centralizing customer data from e-commerce platforms, payment systems, and customer support tools into one marketing database.
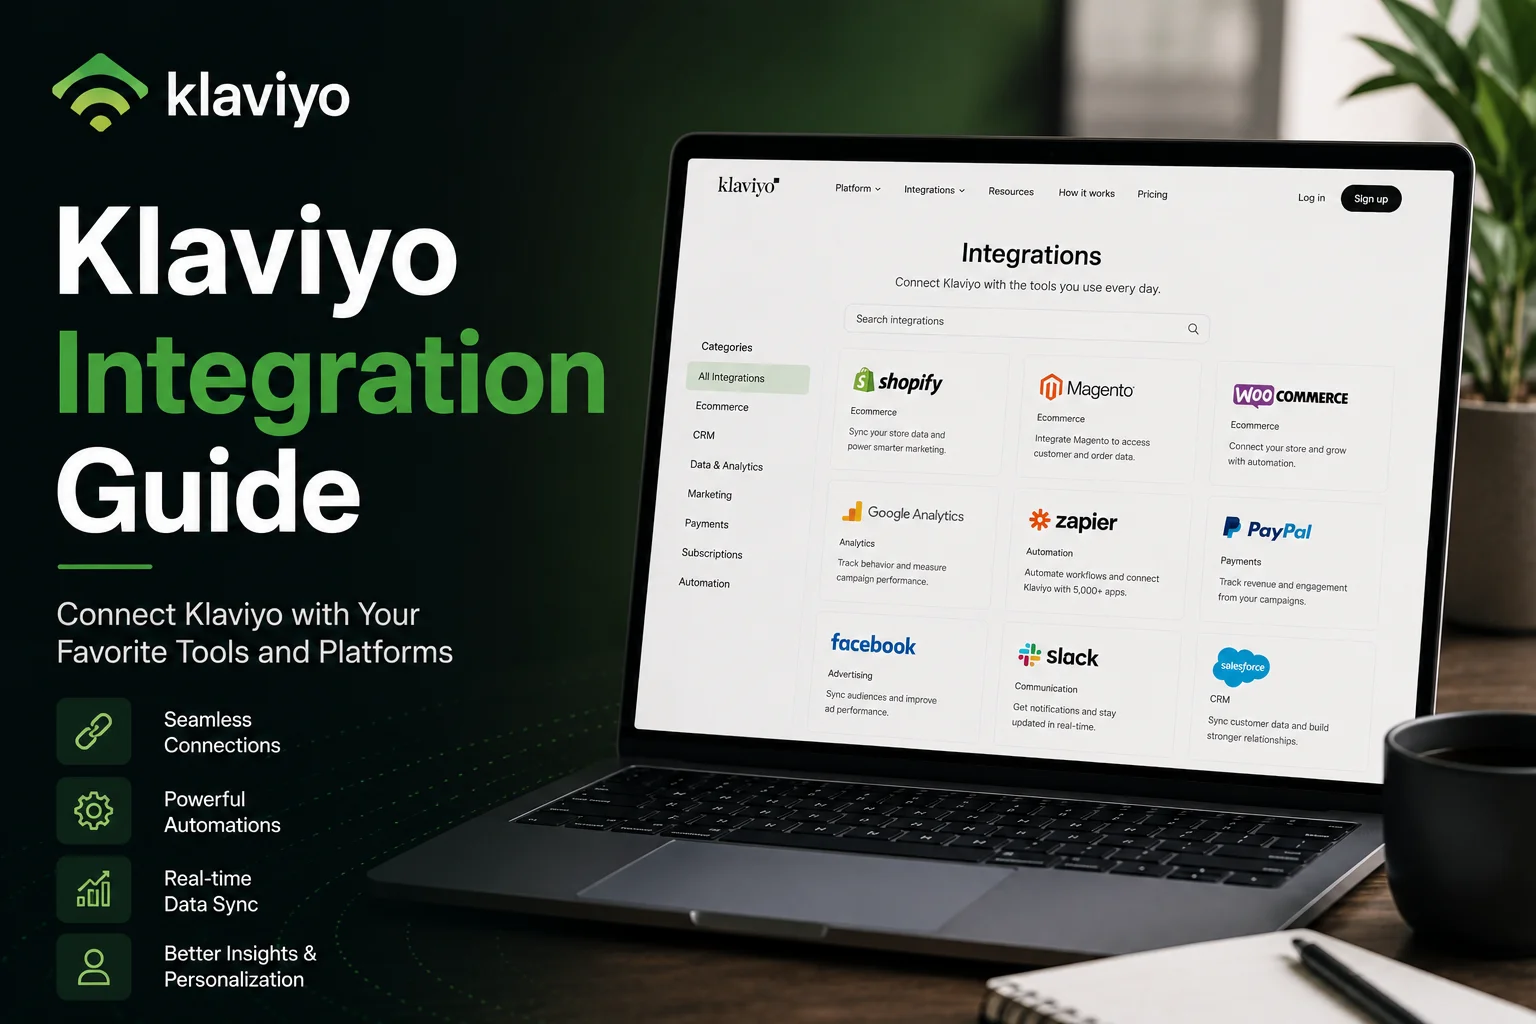
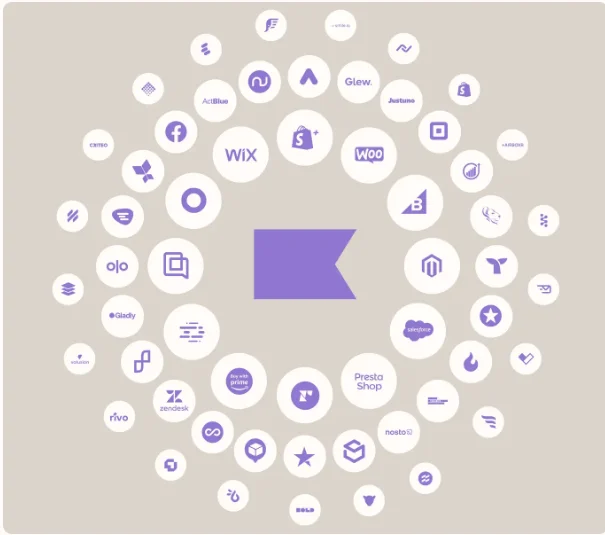
Klaviyo supports native integrations with Shopify, WooCommerce, BigCommerce, Magento, and over 300 third-party applications. These integrations sync real-time events such as purchases, site activity, and email engagement.
According to platform benchmarks, automated flows using integrated data increase revenue per recipient by 10 percent to 30 percent. This Klaviyo Integration Guide explains how integrations work, what data syncs, and why correct setup matters for segmentation accuracy.
What Are the Types of Klaviyo Integration?
Klaviyo integrations fall into three main types. Each type serves a different technical and security requirement.
1. OAuth2 Integration
OAuth2 integration uses token-based authentication managed by Klaviyo and the connected platform. OAuth2 integration reduces credential exposure and supports automatic token refresh.
This guide focuses onOAuth2 integration because OAuth2 integration provides higher security and a simpler setup for most users.
2. API Key Integration
API key integration connects external platforms to Klaviyo using a static private key. API key integration offers direct access but requires manual key management and strict permission control.
3. Custom Webhook Integration
Custom webhook integration sends event data from external systems to Klaviyo in real time. Custom webhook integration suits advanced use cases where native integrations are unavailable.
This guide uses OAuth2 integration because OAuth2 integration is easier to configure and safer for long-term use.
OAuth2 Integration Setup Guide
1) Create the Klaviyo Integration in Duel
- You need to go to Klaviyo Integration in Duel via Settings > Integrations > Klaviyo.
- Here, select the “Add CRM Connection” option.
- If you are unable to find the “Klaviyo” option there, then you should connect with your customer support.
2) Approve Klaviyo via OAuth2
- From here, you need to click on the “Connect: button.
- This will land you on Klaviyo’s OAuth authorization page.
- It will ask you to allow Dual to integrate with Klaviyo, so allow it.
3) Review and Update Integration Settings
- After that, you will be redirected back to Duel, and after that, you need to find the connection that you have just created with Klaviyo and edit it.
- You can enter the member list ID, but it is optional.
- Another optional task is that you can import all the Duel Advocates to Klaviyo.
- Now go to the “Lists & Segments” from your Klaviyo account and choose a list that you already created or create a new one. After that, you need to copy the list ID from the list URL and go to the Duel under Member List ID and paste it here.
- Now you need to synchronize the Groups with Klaviyo, so choose a group.
4) Configure Events and Profile Properties
- Now open the Events/Properties option.
- Here you can see all the elements that you need to send to Klaviyo.
5) Test and Sync Advocate Data
- Go to the Member Sync section in Duel.
- Enter a single advocate email address to run a test sync.
- Click the Sync Test Member to confirm that data flows correctly into Klaviyo.