How to Create Workflows in Flodesk?
Flodesk allows users to automate email campaigns using workflows. A workflow defines a sequence of emails triggered by subscriber actions. Users can create workflows to send welcome messages, follow-up emails, or promotional content.
Each workflow consists of triggers, actions, and conditions. Triggers initiate the workflow when a subscriber completes an action. Actions specify the emails or tasks to execute. Conditions control the workflow path based on subscriber behavior.
In this article, you will learn that Flodesk provides a visual editor to build workflows. Users can link forms, emails, and tags within workflows. So keep reading this guide.
What is a Workflow?
A workflow is a structured sequence of tasks or actions executed automatically based on specific triggers. In Flodesk, a workflow organizes emails and subscriber actions into a defined path. Workflows start with a trigger, such as a new subscriber joining a list or completing a form.
After the trigger, workflows execute actions like sending an email, applying a tag, or moving a subscriber to another segment. Conditions can control the workflow path. Workflows streamline processes, reduce manual effort, and ensure consistent communication with subscribers.
Explanation of Building Blocks

Flodesk has the following building blocks that you can use to make any kind of workflow.
- Trigger: Initiates the workflow. Flodesk allows up to six trigger branches, each with its own source.
- Email: Sends an automated email to subscribers.
- Time Delay: Pauses the workflow for a set time or until a specific date.
- Yes/No Branch: Creates two paths, yes and no, based on subscriber behavior or conditions.
- Action: Updates subscriber segments or applies tags automatically.
- Exit: Stops the workflow for that subscriber.
How to Create a Workflow in Flodesk?
Follow these simple and easy points to start and workflow in Flodesk.
1) Go to “Workflow” in Flodesk
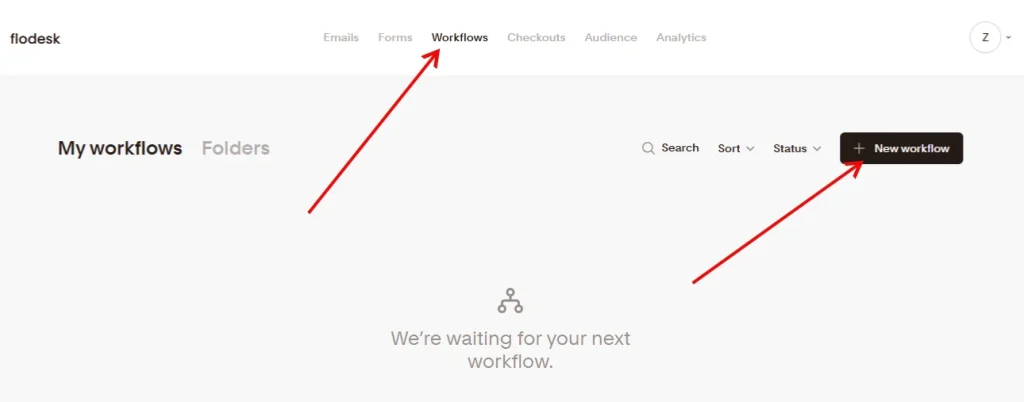
First thing is to log in to your Flodesk account and go to the “Workflow” option located in the upper menu. Click on “Create New” to initiate the new workflow procedure.
2) Choose a Template
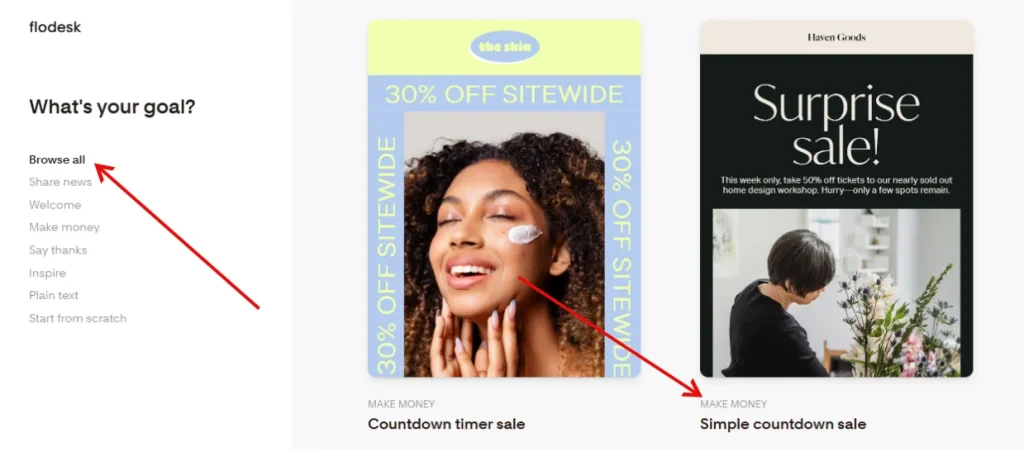
You need to pick a template from the available templates library. Otherwise, you can create your own templates. You should name your workflow after choosing the template.
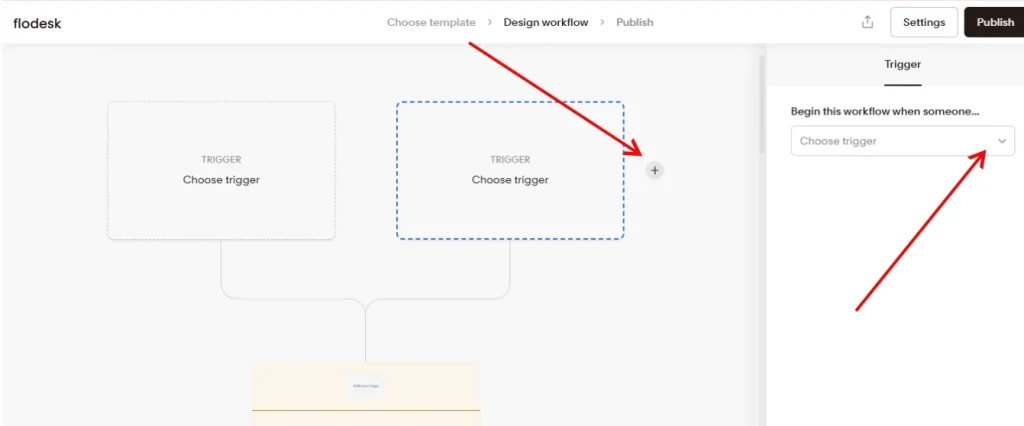
3) Add Triggers for Workflow
A trigger is a switch that turns on the automation workflow once a visitor performs a required task. You need to click on the “Add Trigger” button to set the automation according to what event should be in the automation.
There are many types of triggers, like “When a subscriber is added to the segment”. Pick a segment of your choice and save the process.
4) Add Time Delay or Condition to Workflow
You will see the + sign where you can add a time delay, condition, or add a new email. Now you need to choose the next 3 steps for your automation. You can add an email, a time delay, or an if/then condition.
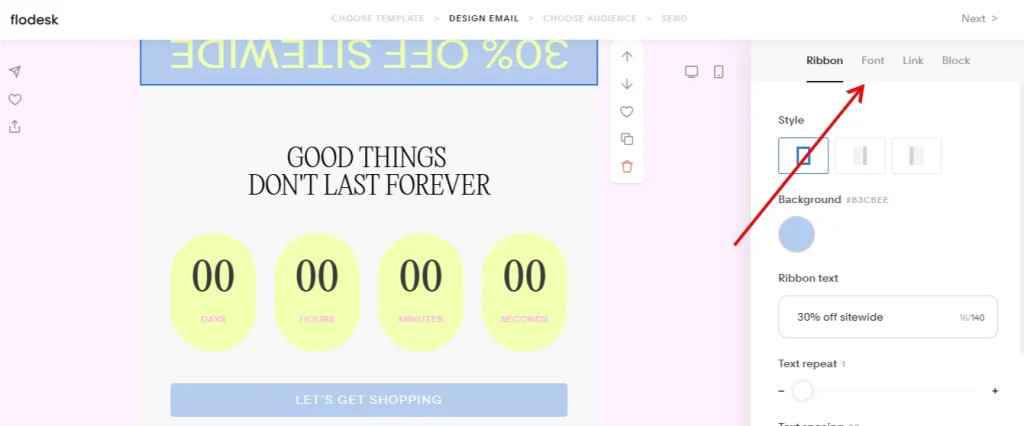
5) Add Emails to Workflow
Click the + sign to add an email to your workflow. Select an existing email or create a new one. Set the email subject, content, and sender details. Each email can be scheduled immediately or after a time delay.
6) Use Yes/No Branch (Optional)
You can add a Yes/No branch to create conditional paths. The “Yes” path executes if a subscriber meets a specific condition. The “No” path executes if the subscriber does not meet the condition. Conditions can include link clicks, form submissions, or tag application.
7) Add Actions
Actions allow you to update subscriber data automatically. You can apply tags, move subscribers to a segment, or remove them from a list. Actions help organize and segment your audience efficiently.
8) Exit Workflow
Add an Exit step at the end of the workflow. This ensures the workflow stops for the subscriber once all steps are complete. Exiting prevents unnecessary repeated actions.
9) Review and Activate
Check all triggers, emails, conditions, and actions. Make sure the workflow sequence is correct. Once verified, click “Activate Workflow” to start automation.
10) Monitor Workflow Performance
After activation, monitor workflow performance in Flodesk analytics. Track open rates, click rates, and subscriber progress. Adjust emails, delays, or conditions if needed to improve results.
So this is the complete process of how you can create a workflow in Flodesk. These steps are very simple and easy to follow. If you need to know more about automation, then inform me in the comment section.
Why Use a Workflow?
Workflows in Flodesk provide a structured method to automate email campaigns. They reduce the need for manual management of subscriber communications. Workflows ensure that subscribers receive the right message at the right time. Automation improves consistency by delivering emails according to predefined rules.
Using workflows saves time for marketers. Manual email sending and follow-up tasks require repeated effort. Workflows execute tasks automatically after triggers are activated. This allows users to focus on content creation and strategy instead of repetitive actions.
Workflows improve subscriber engagement. Automated emails can respond to subscriber actions such as form submissions, link clicks, or segment additions. This targeted approach increases the relevance of emails and encourages interaction.
Workflows can include time delays and conditional branches to personalize the experience. Personalized workflows ensure that subscribers receive content that matches their behavior or preferences.
Finally, workflows provide measurable results. Flodesk analytics allow users to track open rates, click-through rates, and workflow performance. Users can identify bottlenecks or low-performing steps and make data-driven improvements. Workflows streamline marketing processes, increase efficiency, and improve engagement while providing measurable insights.