

Getting Started with Flodesk
Want to test Flodesk for your email marketing or small business? Then here is a quick getting-started guide for you. This is a post where you will learn how to create your account, start a free trial, pay for the subscription, and set up your complete account.
Let’s start the process!
1) Sign Up and Account
You need to create an account with Flodesk. I already have a complete tutorial on “Flodesk account creation”. Here is a quick overview of what you need to do:
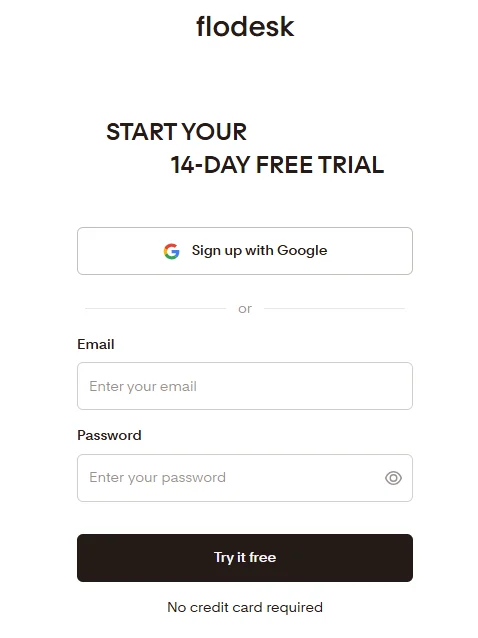
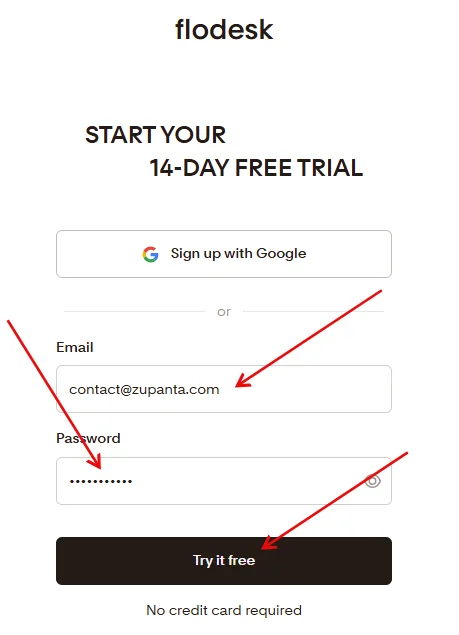
- Start a free trial to test all the premium features. For this, you need to go to Flodesk’s official website and enter your email.
- Now choose a password for your account. You can also sign up directly with Gmail.
- Verify your email, and your account is created.
- Now you need to pick between a free account and a free trial. Choose a free trial and start using it with a 500 recipients per day limit.
- Once your free trial period is over, you can either:
- Stick with the free account forever.
- Choose a pricing plan and pay for the plan.
2) Fill Out Account Details
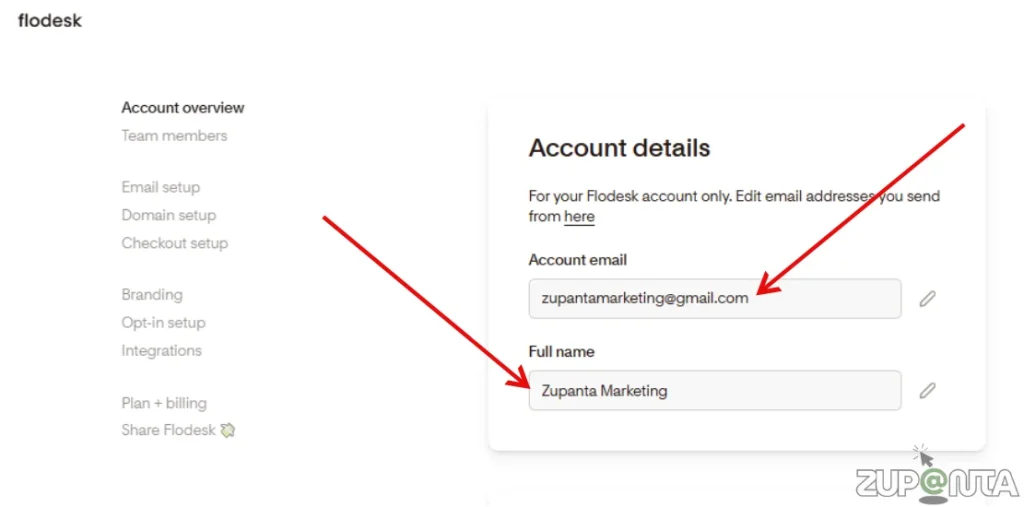
Once you have successfully joined Flodesk, you need to add your account details.
- Log in to your Flodesk account and go to Account settings > Account overview.
- Email: You can add an email to send emails or use the same email that you have used for account registration.
- Full Name: Write your full legal name.
- Flodesk Handle: You can add a custom domain name here for links in bio, form, and checkouts.
- Password: This is a place where you can add or check your password for your account.
- Timezone: Set time zone for email sending, scheduling, and analytics.
3) Choose Your Sender Name and Email Address
This will be your name that your subscribers will see in their emails sent by you.
- Go to Account settings > Email setup.
- Add a name for your email that recipients will see.
Also check: Flodesk Overview
4) Add and Authenticate Domain Name
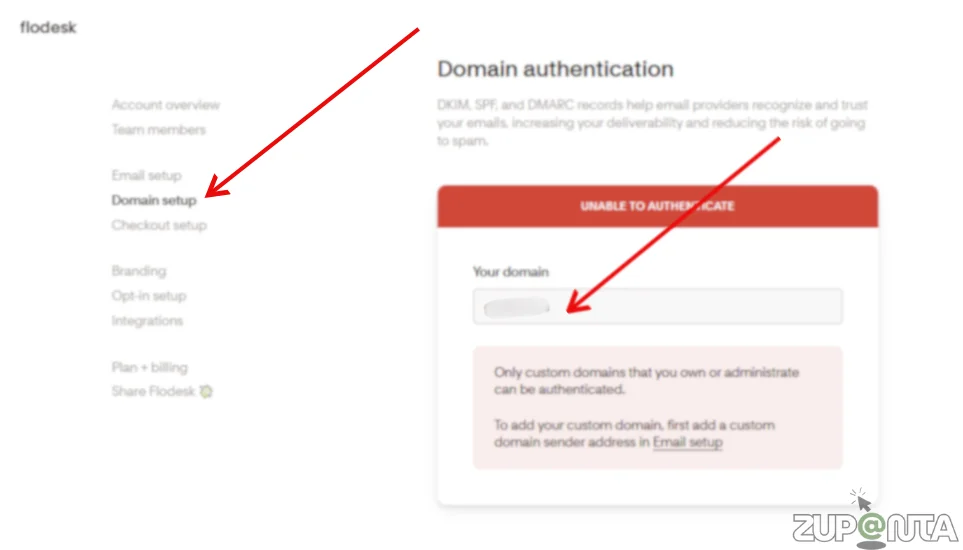
- Proceed to the Account settings > Domain setup page.
- Configure DKIM, DMARC, and SPF Records in Your Domain’s DNS Settings.
- You can add them in an automatic way if your domain provider allows it. Otherwise, you need to add it manually.
Note: Adding DKIM, SPF, and DMARC records to your domain shows email services that your messages are legitimate. This helps your emails reach inboxes instead of spam folders and improves overall delivery success.
5) Add Your Brand Information
The last step for getting started with Flodesk is to add your branding information.
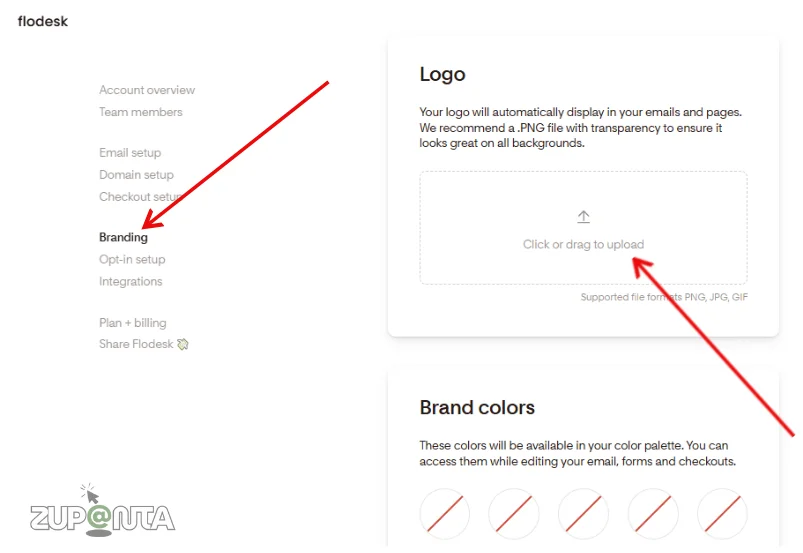
- Logo: Add your brand’s logo in Flodesk for your email campaigns. This will show up to your subscribers when you send emails to them.
- Brand Fonts: You must choose a font for your brand. Use this font for all of your emails, forms, and text blocks.
- Brand Colors: Flodesk allows you to add up to 10 colors of your brand, and you can save them for future use.
- Company Information: Enter the official company information in Flodesk. Include the registered company name and legal details. Correct company information supports compliance with email marketing regulations. Ensure all fields are complete and accurate. This data is used in footer sections and email headers.
- Company Address: Provide the complete business address, including street, city, state, and postal code. Flodesk displays this address in email footers for legal compliance. A precise address improves trust and meets anti-spam requirements. Do not abbreviate important components of the address.
- Flodesk Branding: Decide whether to include Flodesk branding in your emails. Flodesk branding will appear in footers and templates. Enabling or disabling this option affects the professional appearance of campaigns. Confirm settings align with your brand policy and subscription plan.
- Social Links: Add links to official social media profiles of your brand. Include platforms such as Facebook, Instagram, Twitter, and LinkedIn. Social links increase engagement and provide subscribers with verified contact points. Ensure URLs are correct and active.
Final Verdict
So this is all about getting started with Flodesk. Follow these steps to create your account, set up your email, and add your brand information.
You can start with a free trial to explore all features or choose a paid plan for full access. Make sure your domain is authenticated with DKIM, SPF, and DMARC records to improve email deliverability. Add your logo, brand fonts, colors, company information, and social links for a complete setup.